
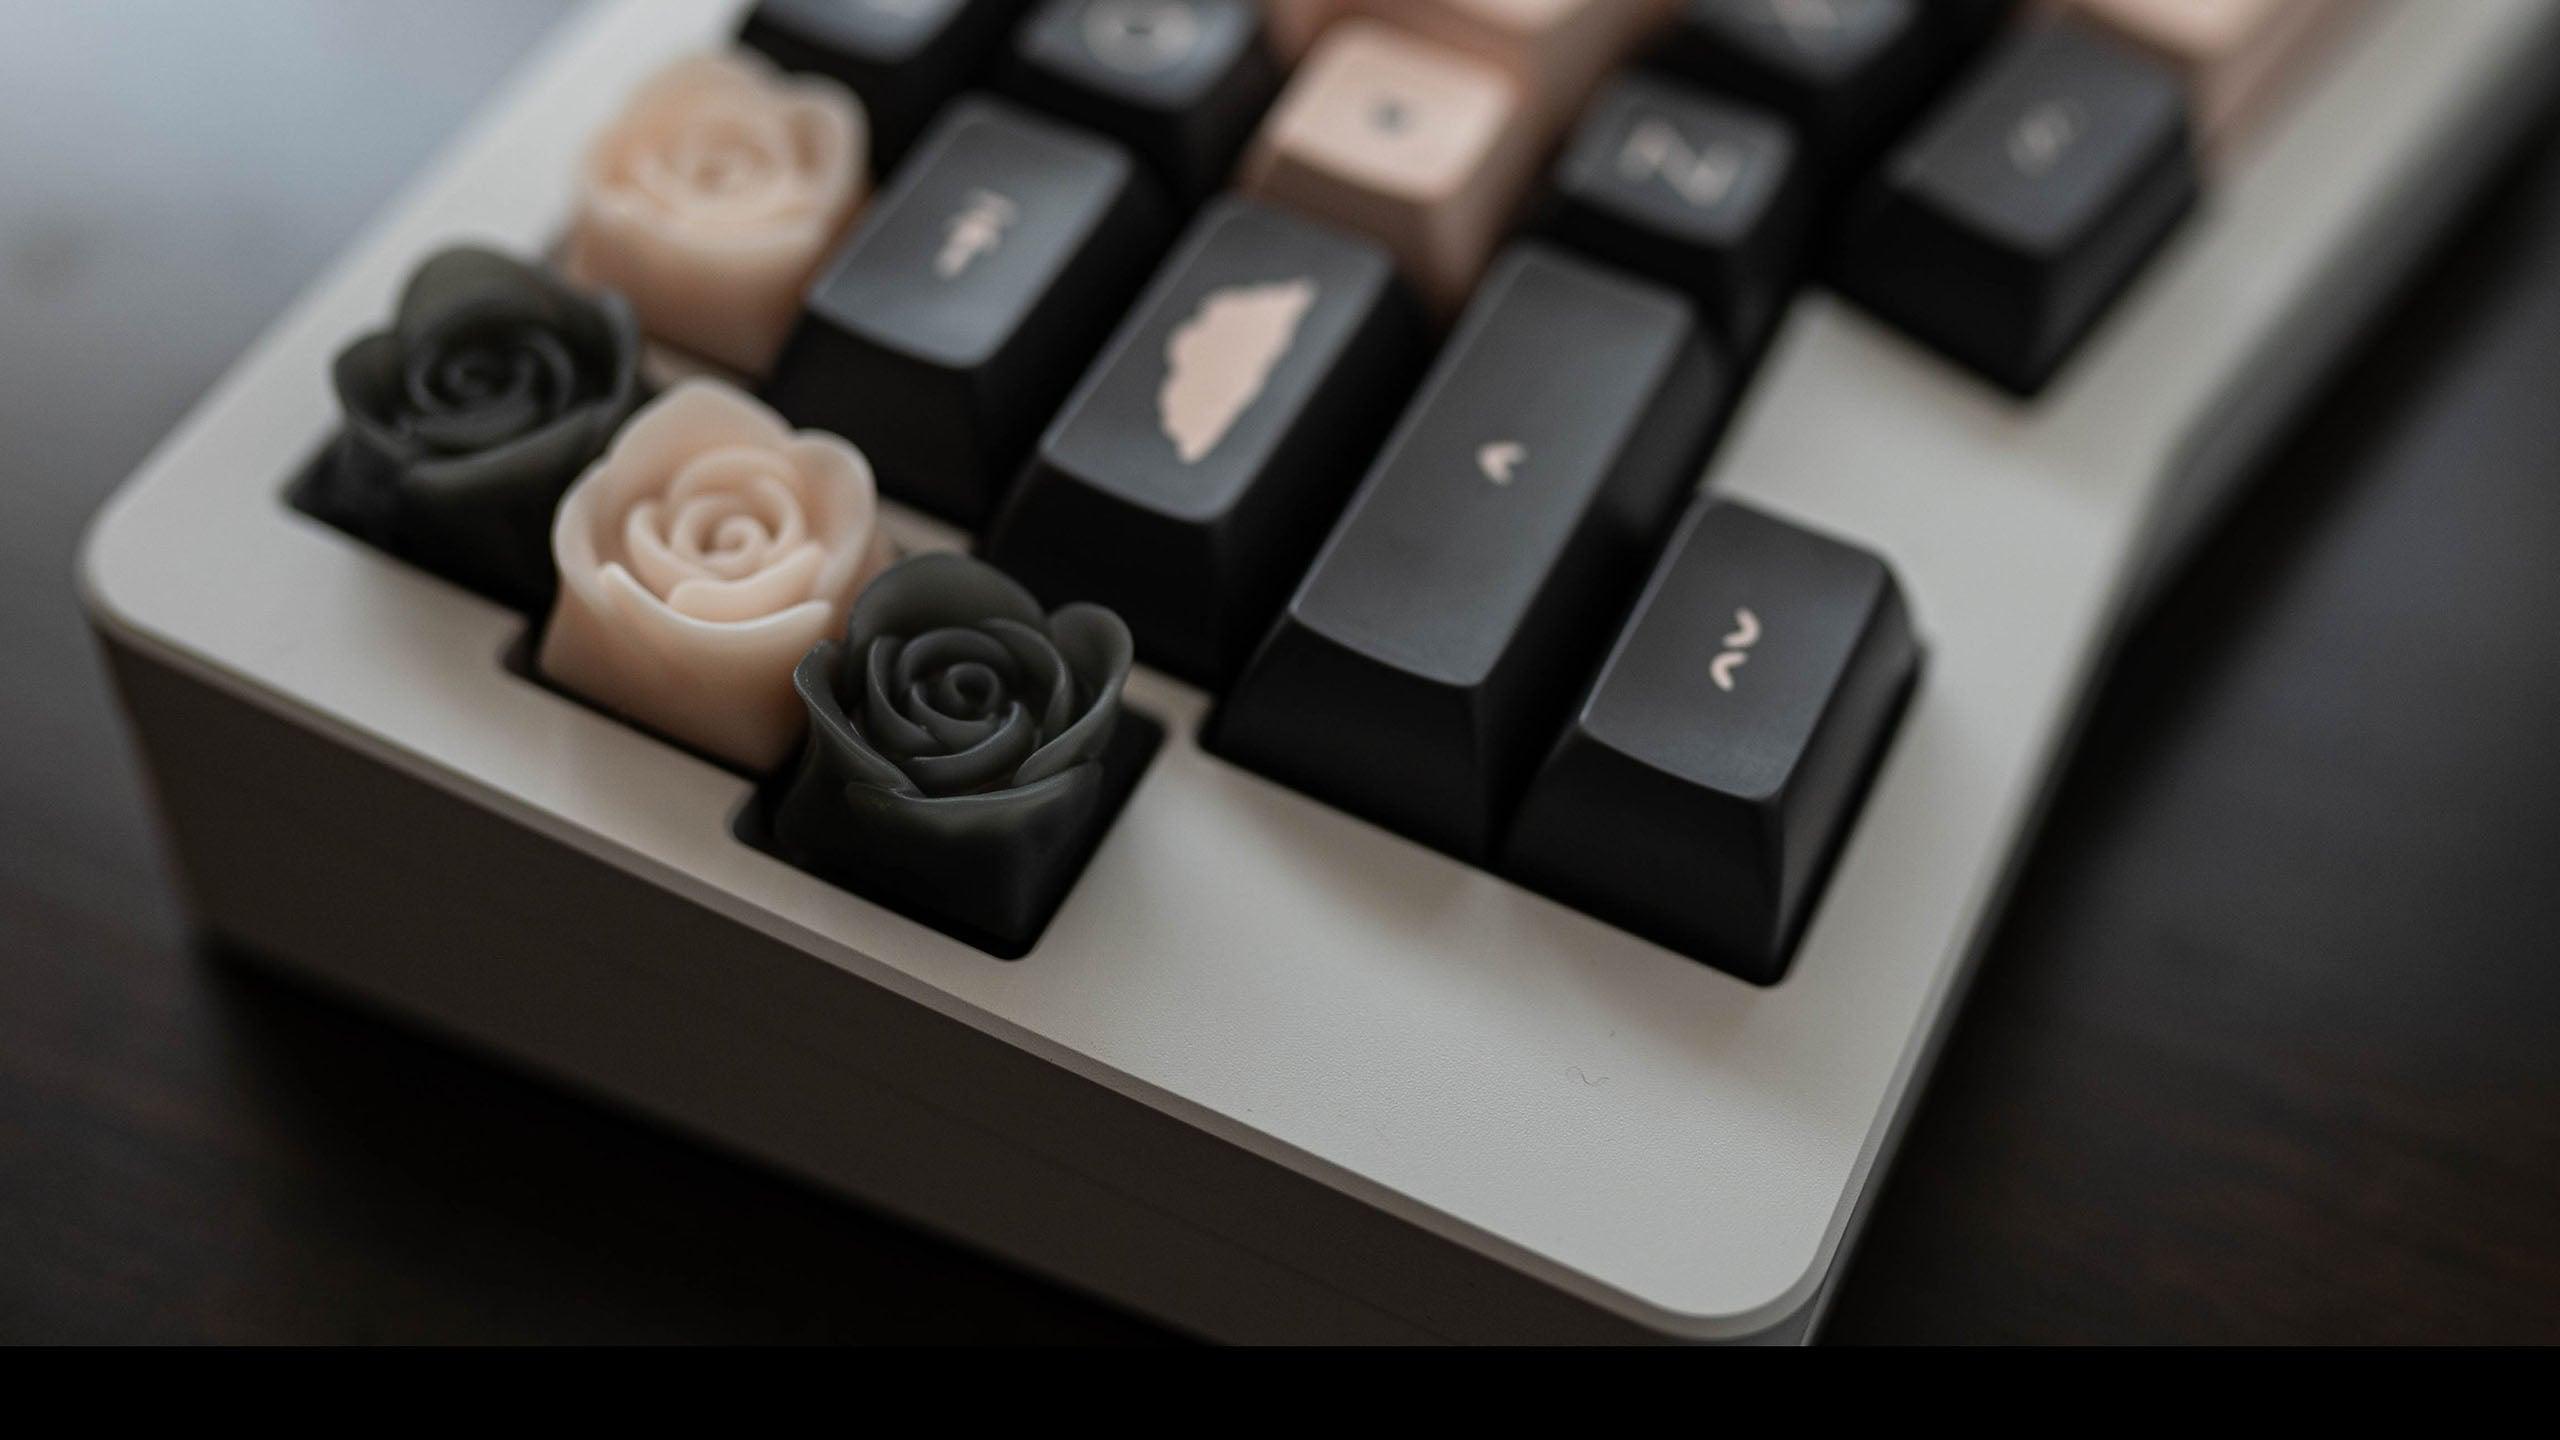
The Art of Creating Artisan Keycaps: Our Unique Process
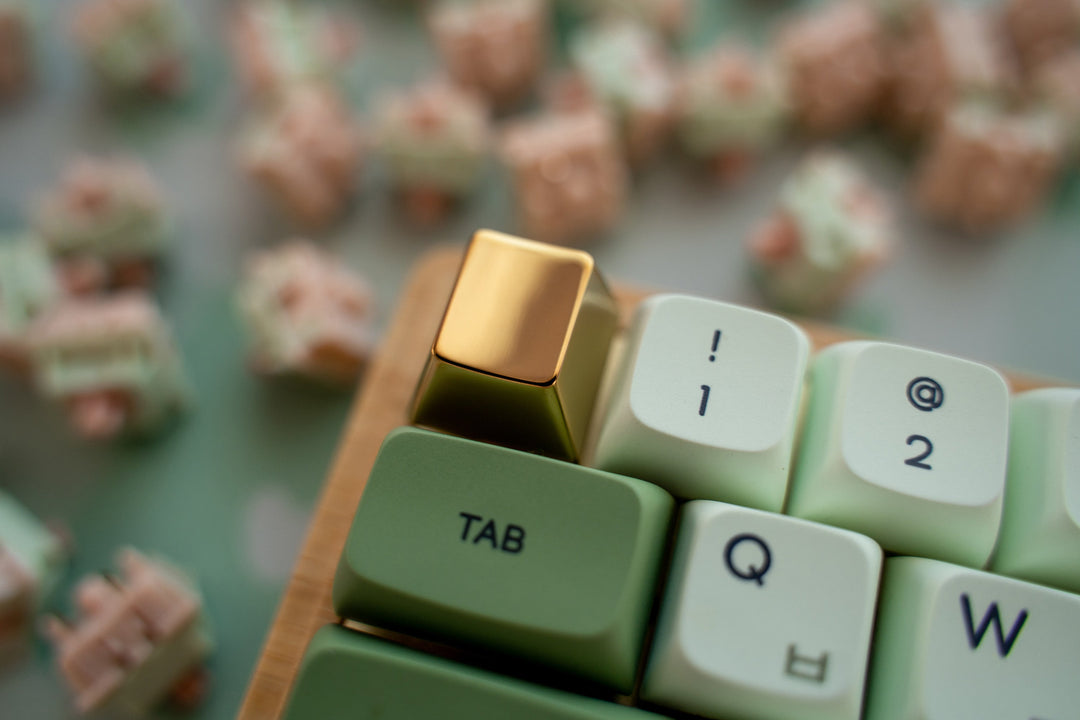
Capsmiths Artisan Keycaps
Welcome to an inside look at our journey of crafting artisan keycaps, a process that combines artistry with precision engineering. At Capsmiths, we take pride in creating keycaps that are not just accessories but small pieces of art that bring a personalized touch to mechanical keyboards around the globe. Here's a glimpse into our creation process, from the initial concept to the final product ready to adorn your keyboard.
Step 1: Design - The Spark of Inspiration
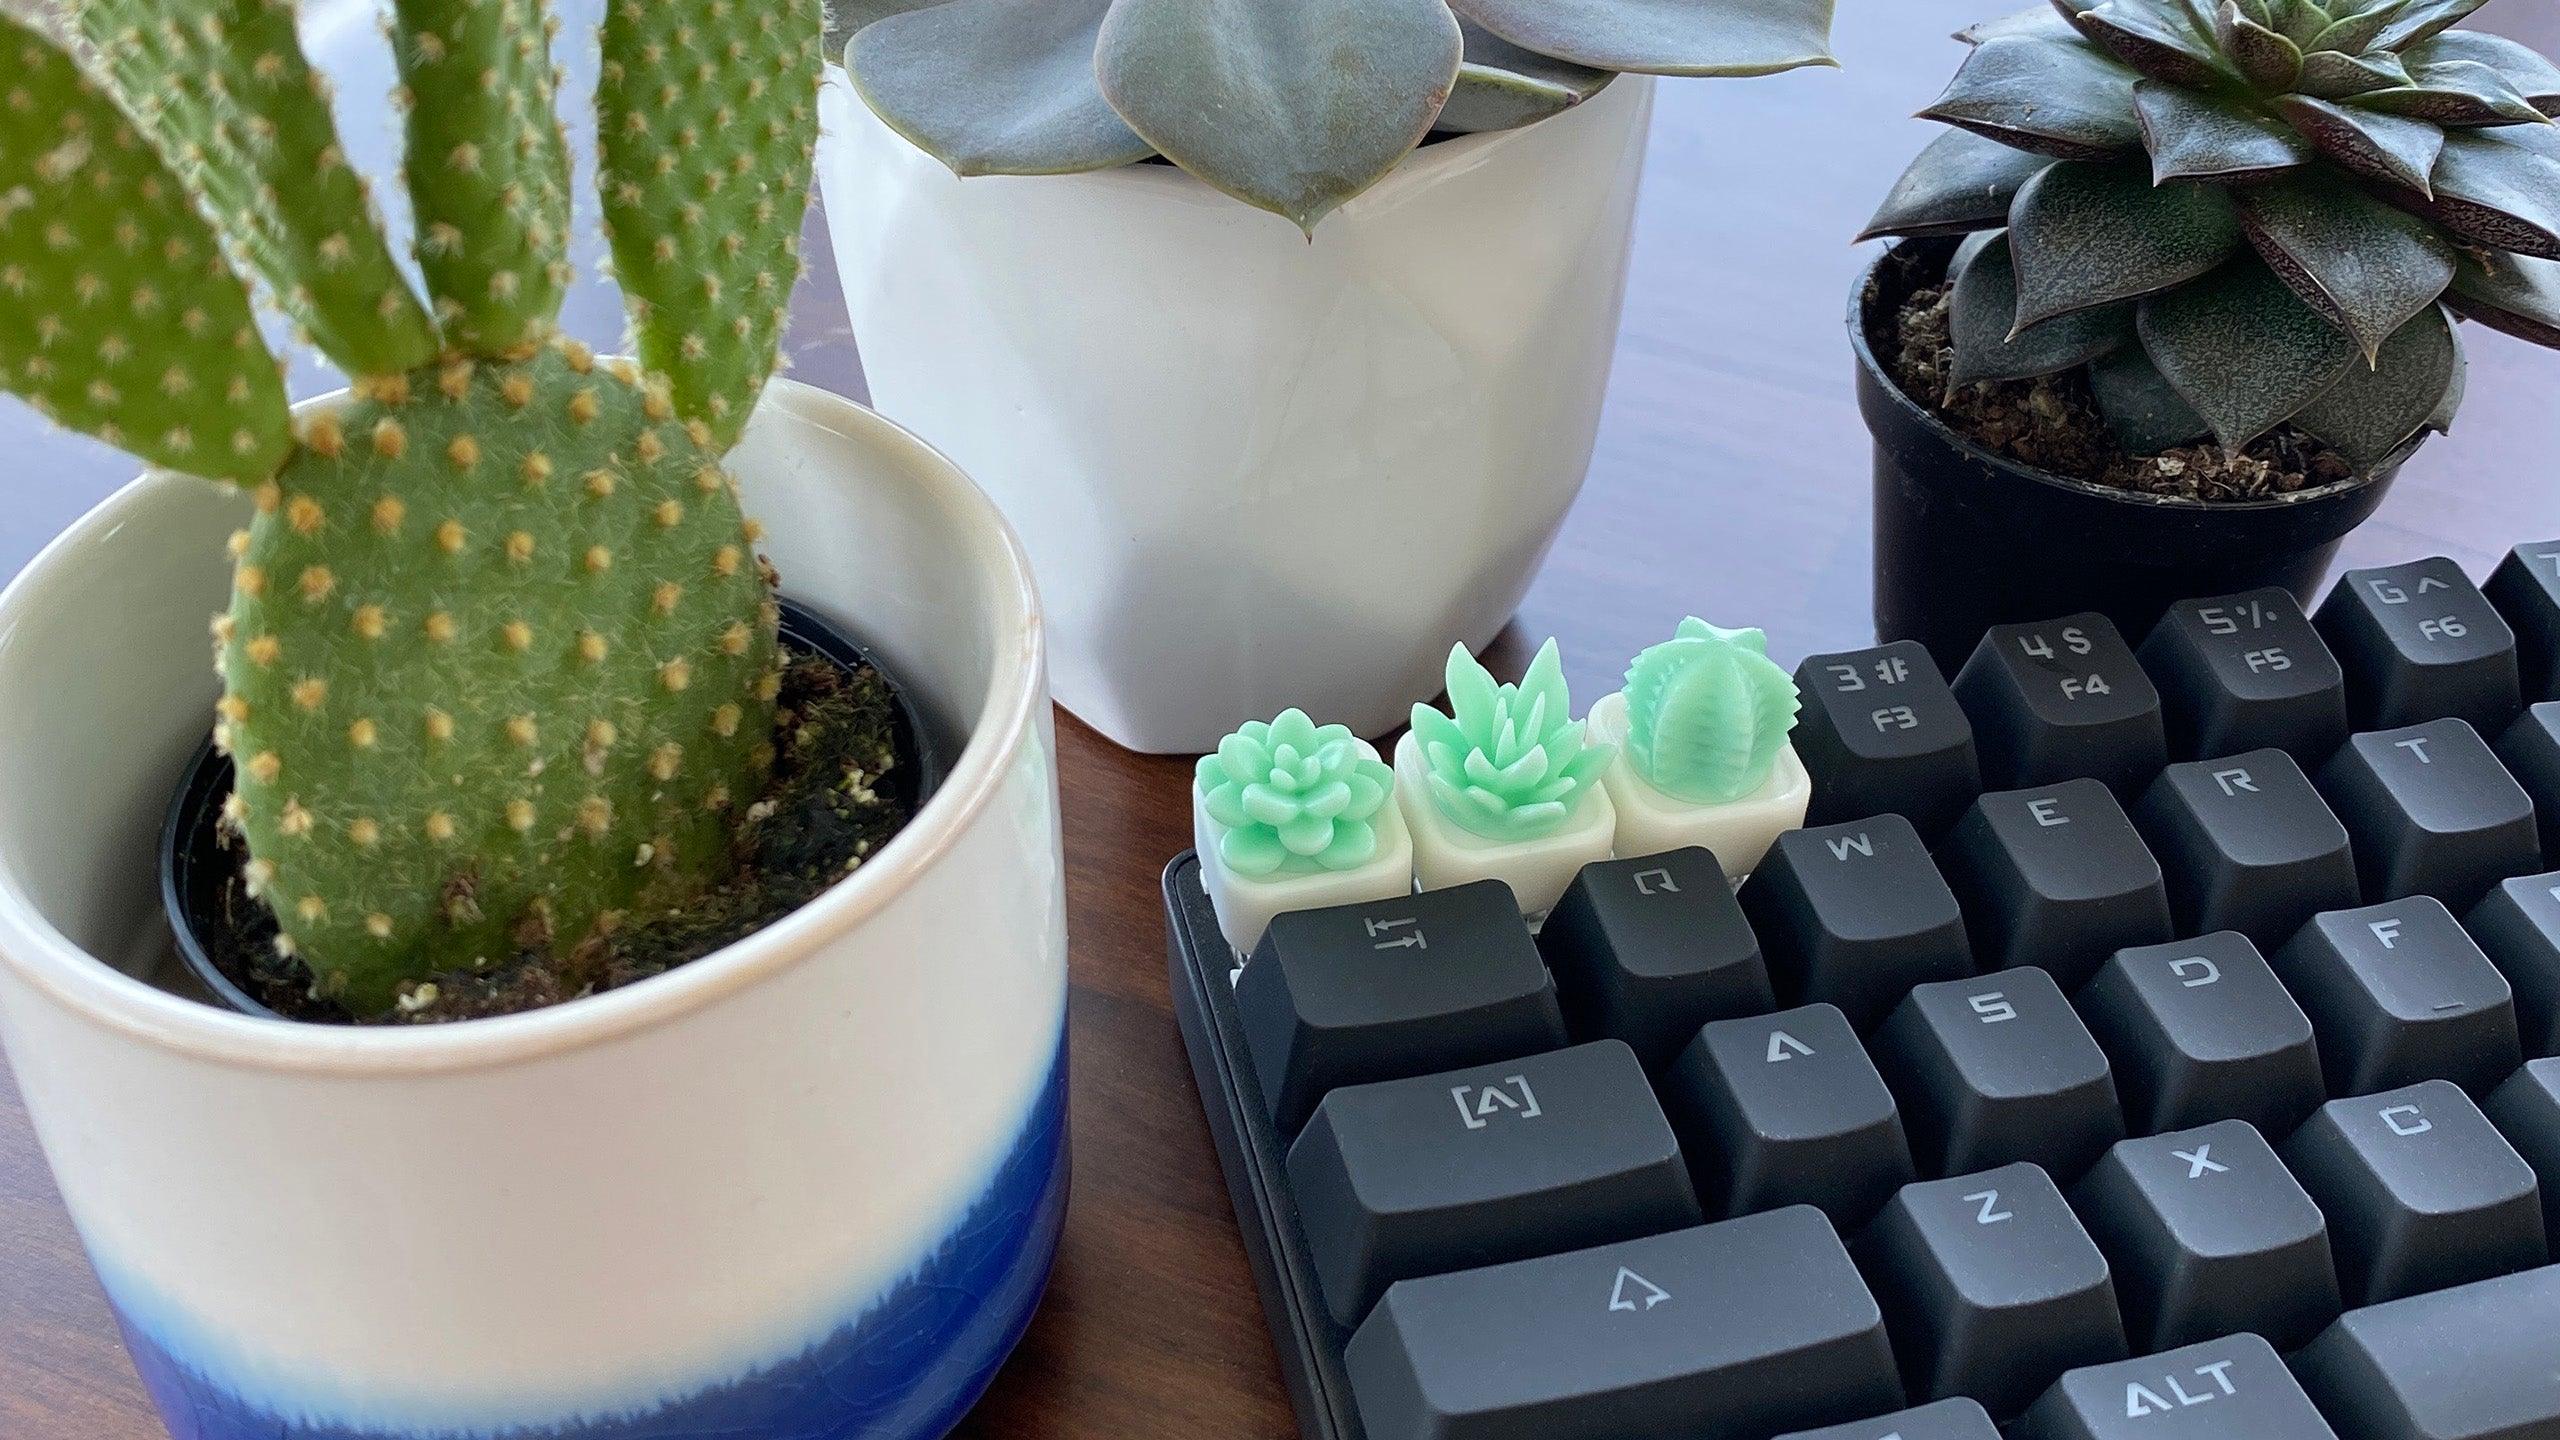
Every artisan keycap starts with an idea. This could be inspired by a myriad of sources—nature, architecture, pop culture, or even abstract concepts. Our team spends time brainstorming, sketching, and refining ideas until we have a concept that we're passionate about bringing to life. This phase is crucial as it sets the direction for the entire project.

Step 2: 3D Modeling - Bringing Ideas to Life
Once we've settled on a design, we move to the digital realm. Using advanced 3D modeling software like Blender or ZBrush, we start sculpting our concepts into tangible models. This stage requires a deep understanding of both the artistic and technical aspects of 3D modeling. We pay meticulous attention to detail to ensure that every curve, texture, and feature of the keycap won't interact with neighboring keycaps or keyboard frames. The goal is to create a model that is not only beautiful but also functional, fitting perfectly onto a mechanical keyboard switch.

💡 Did you know
We collaborate with businesses and keyset designers to create custom designs or matching colorways. Contact Us to learn more.
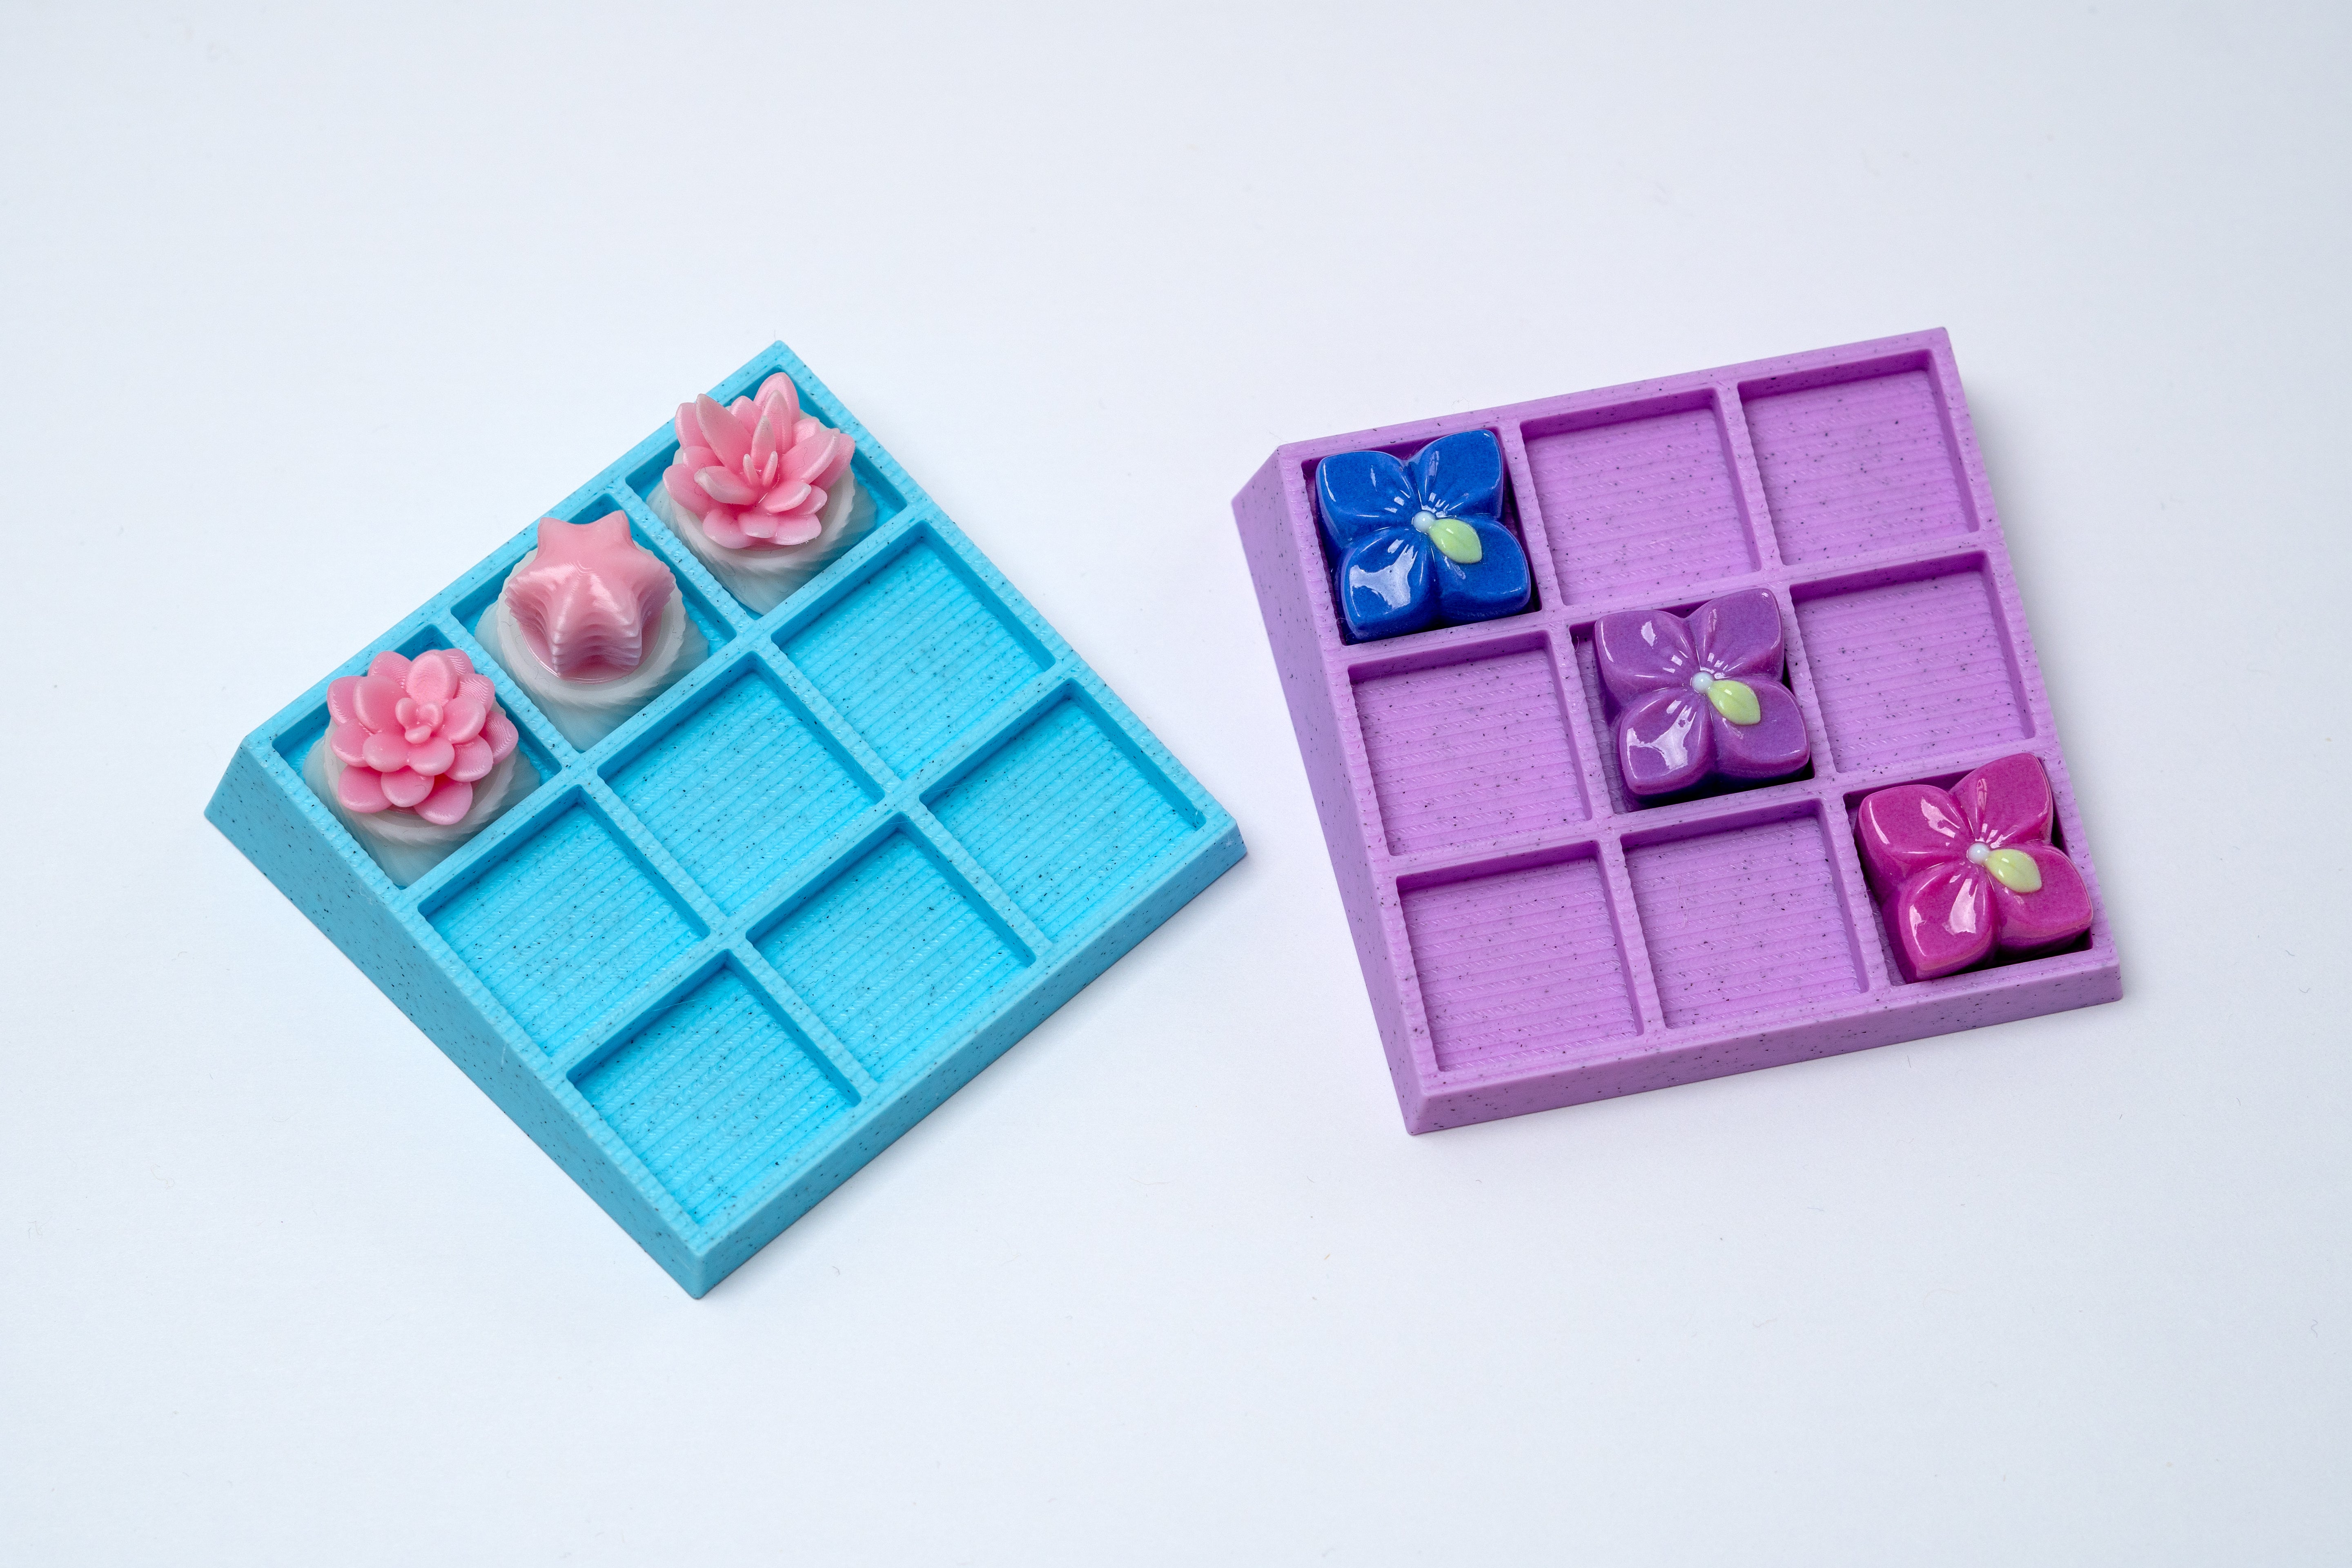
Step 3: 3D Printing - From Digital to Physical
With our 3D model ready, we turn to our resin printers to bring our designs into the physical world. Resin printing is chosen for its ability to capture intricate details, which is essential for the high-quality finish we demand for our artisan keycaps. This process involves curing liquid resin layer by layer with UV light, gradually building up the shape of the keycap. It's a magical moment when the keycap emerges from the printer, seeing the design come to life for the first time.

Why do we use 3d printing?
Pros:
Customization: 3D printing allows for unparalleled customization in design, shape, and size. You can create keycaps that are truly one-of-a-kind, tailored to your personal preferences or specific themes.
Complex Designs: With 3D printing, you can achieve intricate details and complex shapes that might be difficult or impossible to produce using traditional manufacturing methods.
Accessibility: 3D printers have become more affordable and accessible to hobbyists. This accessibility empowers more enthusiasts to experiment with designing and printing their own keycaps at home.
Rapid Prototyping: You can quickly move from a digital design to a physical product, making it easier to iterate on designs and test new ideas without a significant investment in time or resources.
Material Variety: A wide range of resins are available for 3D printing, offering various colors, finishes, and mechanical properties. This variety lets creators experiment with different looks and feels for their keycaps.
Cons:
Surface Finish: Even with high-quality prints, the surface of 3D printed keycaps may not be as smooth as those produced by injection molding. Post-processing (like sanding and painting) is often required to achieve a professional finish.
Durability: Depending on the type of resin used, 3D printed keycaps may not be as durable as their injection-molded counterparts. They might wear down or break more easily under heavy use.
Consistency: Achieving consistent quality can be challenging, especially for new designs. Variations in printer calibration, resin properties, and environmental conditions can affect the outcome of each print.
Time and Labor: The process of designing, printing, and especially post-processing (cleaning, curing, sanding, and painting) can be time-consuming and labor-intensive.
Cost Efficiency: While 3D printing allows for low initial investment compared to traditional manufacturing, the cost per keycap (considering time, materials, and equipment depreciation) can be high, especially for complex designs or when high-quality finishes are desired.
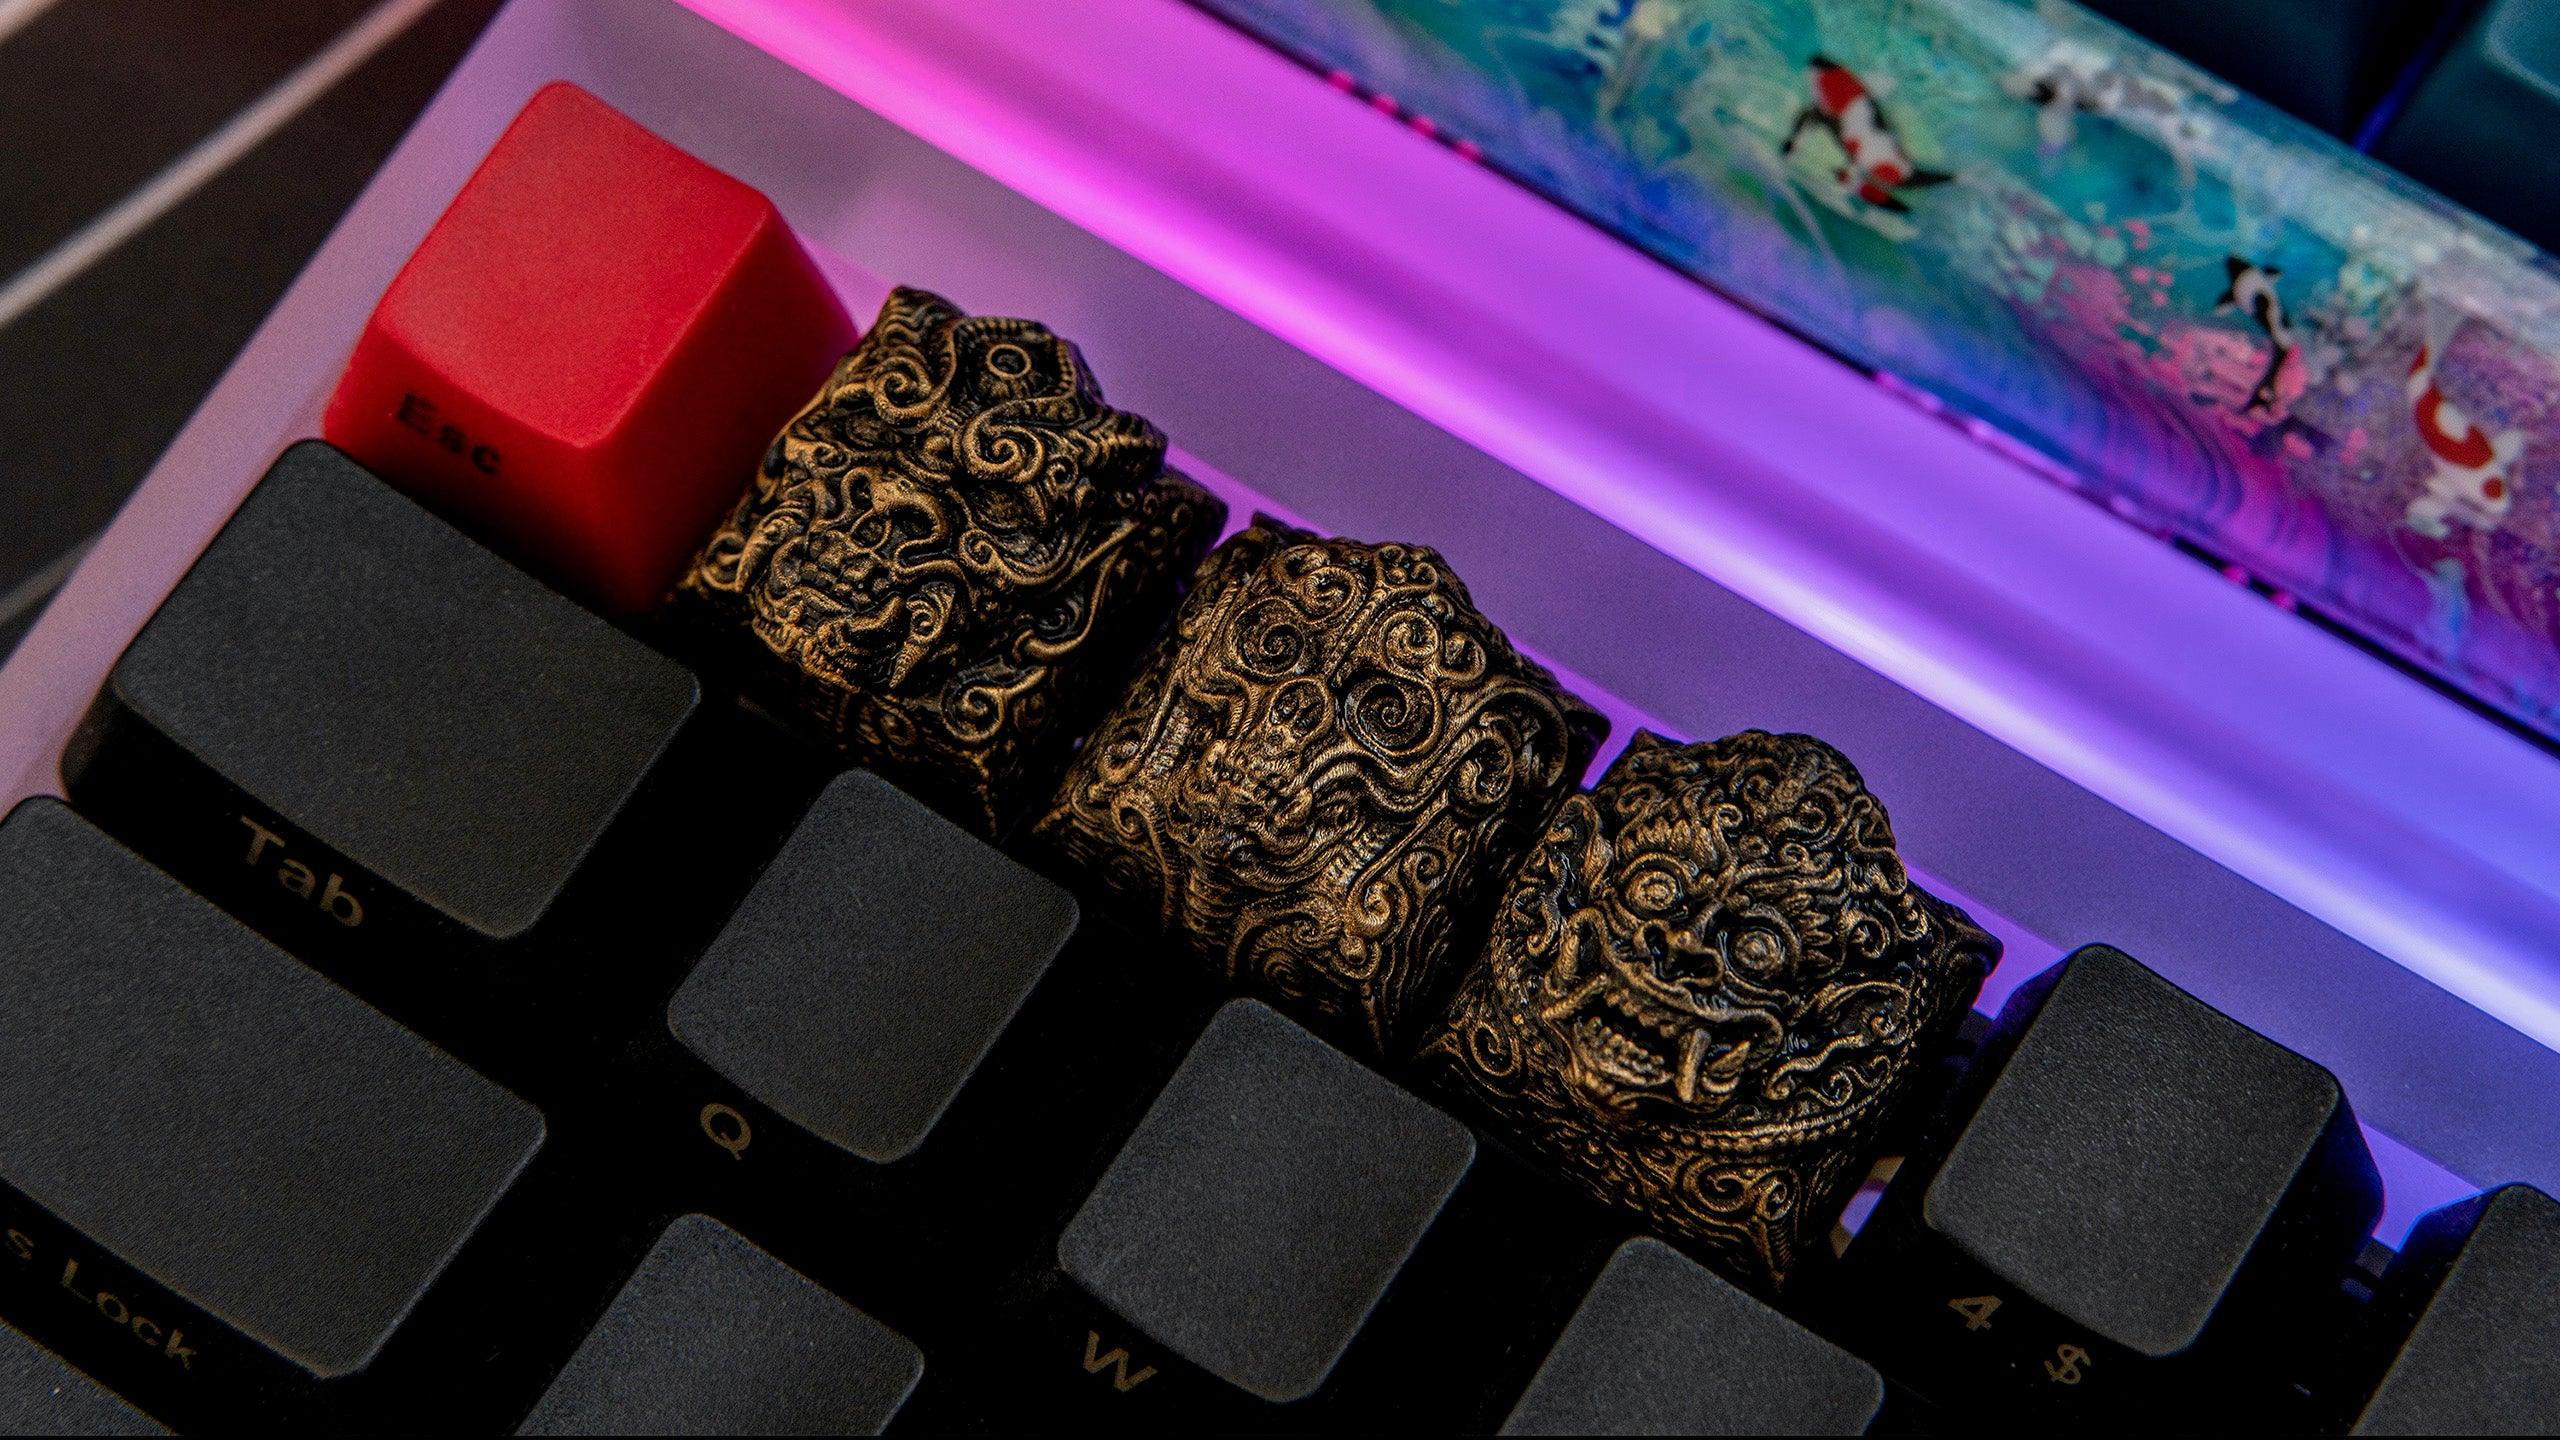
Step 4: Post-Processing - The Devil is in the Details
After printing, the keycaps undergo a series of post-processing steps. This includes washing off any uncured resin and curing the keycaps under UV light to ensure they're completely solid. We then move on to hand-finishing: sanding the keycaps to smooth out any imperfections and applying paint or other finishes to bring out the details of the design. This step is where the keycap truly becomes a piece of art, with each one receiving individual attention to make it shine.

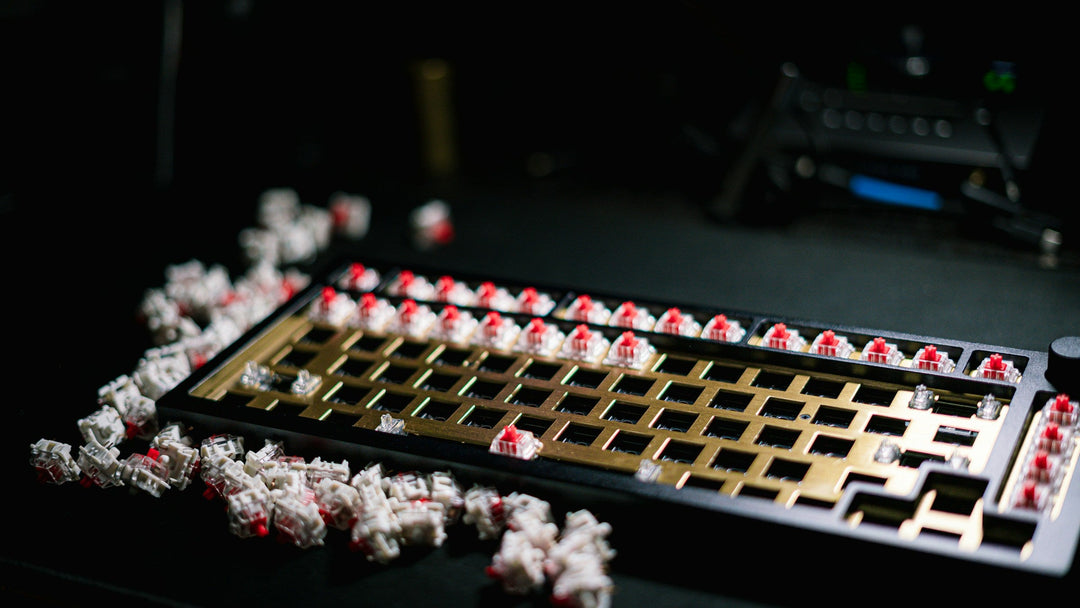
Step 5: Testing - Ensuring Perfection
The final step in our process is testing. We meticulously inspect each keycap, not just for its aesthetic appeal but also for functionality. It's essential that the keycap fits snugly onto the keyboard switch and operates smoothly without any interference. We test the keycaps on a variety of switches and keyboards to ensure they meet our high standards of quality and compatibility.
Conclusion
Creating artisan keycaps is a labor of love, combining art, technology, and craftsmanship. At Capsmiths, we're dedicated to pushing the boundaries of what's possible, creating keycaps that elevate the mechanical keyboard experience. Each keycap tells a story, from its initial inspiration to the final touches that make it unique. We hope this glimpse into our process shows the passion and precision behind every keycap we create, making them not just accessories but treasures for keyboard enthusiasts to cherish.
Thank you for joining us on this journey through the art of keycap creation. Whether you're a seasoned collector or new to the world of custom mechanical keyboards, we invite you to explore our collection and find the perfect piece to personalize your setup.